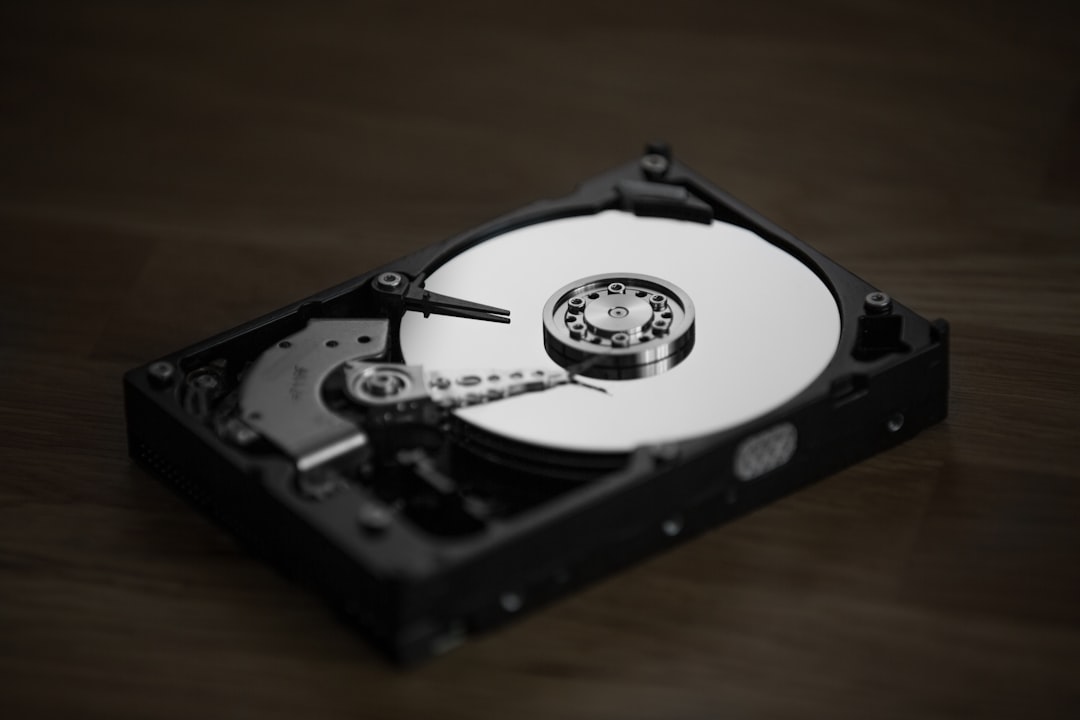
Imagine plugging in your external hard drive or USB only to be met with a prompt that the drive is in RAW format. Your files seem inaccessible, and the system suggests formatting the disk. But wait—formatting would mean losing all your data! The good news? You don’t need to format it to fix the problem. This article will guide you through converting a RAW file system to NTFS without formatting and without compromising your valuable data.
TL;DR
It is possible to convert a RAW drive to NTFS without formatting or losing data. Start by checking the drive for physical issues, use system utilities like CHKDSK, or try reliable third-party recovery software. Always back up your data before proceeding if the drive becomes accessible. In more complex cases, a professional data recovery service might be needed.
Understanding RAW and NTFS File Systems
Before learning how to convert RAW to NTFS without formatting, it’s essential to understand what these file systems are.
- RAW: A RAW file system typically appears when your drive’s partition gets corrupted or unreadable by the OS. It’s not an actual file system but rather an error state that indicates Windows can’t recognize the structure on the disk.
- NTFS (New Technology File System): This is the standard file system used by Windows for storing and retrieving files. It’s reliable, supports large file sizes, and includes file permissions.
When your drive shows up as RAW, it usually means that the file system has been damaged—not that it’s completely empty. Your data may still be intact and recoverable beneath the surface.
What Causes a Drive to Become RAW?
A drive can become RAW due to a number of reasons, including:
- Improper removal of the drive or sudden power loss
- Virus infections or malicious software
- Bad sectors or physical damage
- Corrupted file system or partition table
Identifying the cause can help you use the right approach to restore your drive to NTFS without formatting.
Warning: Avoid Formatting Until All Recovery Options Are Exhausted
Formatting the disk is the easiest fix according to many operating systems, but it also deletes all data. The key goal here is data preservation. So avoid any system prompts that suggest “Format the disk before using it.”
Methods to Convert RAW to NTFS Without Formatting
Here are several ways you can convert your RAW drive to NTFS without formatting it, categorized by technical difficulty and success rate.
1. Use CHKDSK Utility (Command Prompt)
CHKDSK is a built-in Windows tool that checks the file system and file system metadata of a drive. To use it:
- Press Windows + X and select Command Prompt (Admin) or Windows PowerShell (Admin).
- Type the following command:
chkdsk X: /f /r
Replace X with the letter of your RAW drive. - Press Enter and wait for the process to complete.
If CHKDSK succeeds, it will repair issues and automatically convert the file system back to NTFS. However, this method only works if system metadata is slightly corrupted and not completely damaged.
2. Assign a Drive Letter (Disk Management)
Sometimes the drive shows as RAW simply because Windows no longer recognizes its drive letter. Here’s how to assign one:
- Right-click on Start Menu and select Disk Management.
- Right-click on your RAW drive and choose Change Drive Letter and Paths.
- Click Add, then choose a letter. Confirm and check if the system now recognizes the partition.
This method won’t convert RAW to NTFS directly, but it might make your data accessible again, especially if the driver conflict was the problem.
3. Use Data Recovery Software
If the above methods do not work, the next best option is to recover your data using specialized software and then rebuild your NTFS partition without formatting.
Popular tools include:
- EaseUS Data Recovery Wizard
- MiniTool Power Data Recovery
- Recuva
Here’s a general step-by-step process using most of these tools:
- Install and launch the software.
- Select the RAW partition or drive from the list.
- Run a deep scan to locate lost files.
- Preview and recover the files to a different location (preferably on another drive).
Once you’ve safely backed up your data, you can format the RAW drive to NTFS and transfer the files back.
4. Try TestDisk (Advanced Users)
TestDisk is a free and powerful open-source recovery tool that can fix partition tables and convert RAW partitions back to NTFS. However, it has a steep learning curve.
- Download TestDisk from the official website and run it as administrator.
- Select the affected drive and analyze the partition structure.
- Let TestDisk search for lost partitions and fix file system errors.
If it finds your old NTFS partition, you can rewrite the partition table and restore it without formatting.
Precautionary Measures Before and After Recovery
Use these tips to avoid future RAW file system issues:
- Always eject drives safely.
- Use UPS (uninterruptible power supply) to prevent sudden shutdowns.
- Regularly back up important data to multiple storage locations.
- Run antivirus tools frequently to prevent harmful software from corrupting file systems.
When to Seek Professional Help
If none of the software or command-line utilities solve the problem, and your data is critical, it’s time to consult a professional data recovery service. Especially when you suspect:
- Physical damage to the drive
- Clicking, grinding, or unusual noises from the drive
- Completely unrecognized storage in BIOS or disk management
Professional services come at a cost but often offer the highest success rate, especially when hardware is involved.
Final Thoughts
Seeing your drive suddenly turn RAW can be alarming, but it’s not the end of the road for your data. With the right tools and methods, you can often recover everything and convert the drive back to NTFS without formatting.
Just remember to stay calm, avoid rash decisions like immediate formatting, and follow the steps outlined here. For high-value data, err on the side of caution and don’t hesitate to involve a professional.
Data loss is never fun, but it doesn’t have to be permanent!