Explainer videos have rapidly become one of the most effective tools for businesses and organizations to communicate complex ideas in a simple, engaging, and visually compelling manner. Whether you’re marketing a product, introducing a service, or educating your audience, explainer videos—especially those created with professional animation video production—can help you grab attention and drive results. However, creating a stunning explainer video requires more than just good visuals; it demands careful planning, storytelling expertise, and the right production practices.
Why Use Animated Explainer Videos?
Animated explainer videos provide several advantages over live-action or text-based content. They are:
- Visually engaging – Animation allows you to create unique and dynamic visuals that captivate your audience.
- Easy to personalize – You can customize the style, tone, and pace to match your brand identity.
- Great for simplifying complex ideas – Abstract concepts can be visualized with ease, making them more digestible.
- Cost-effective – Animated videos can be more economical in the long run, as they don’t require expensive equipment or actors.
- Universally appealing – Animation transcends languages, cultures, and industries.
Step-by-Step Guide to Creating Stunning Explainer Videos
1. Define Your Objective
The foundation of any successful explainer video is a clear and specific objective. Ask yourself:
- What message am I trying to convey?
- Who is my target audience?
- What action do I want the viewer to take after watching?
Being precise about your goals will guide every subsequent stage of production, from scripting to animation style.
2. Craft a Compelling Script
A strong script is the backbone of an effective explainer video. It should be concise, focused, and captivating:
- Keep it short: Aim for 60–90 seconds. That’s about 150–225 words.
- Use a problem-solution approach: Start by addressing a common problem your audience faces and then explain how your product or service provides a solution.
- Include a call to action (CTA): Guide viewers to the next step, whether that’s visiting a website, signing up, or contacting you.
Remember, the goal of the script is to convey the message clearly, not to dazzle with verbosity.
3. Choose the Right Animation Style
There are several animation styles you can consider for your explainer video. Each has its strengths and best-use scenarios:
- 2D Animation: Classic and versatile; great for most business applications.
- Whiteboard Animation: Ideal for instructional or educational videos.
- Motion Graphics: Suits tech and finance industries where abstract data visualization enhances understanding.
- 3D Animation: More immersive and detailed, often used for product demos or scientific topics.
Your choice should align with your brand identity and the message you’re conveying.

4. Develop a Storyboard
Before animating, create a storyboard—a scene-by-scene blueprint of your video. This will help you visualize the flow and identify any inconsistencies between the script and visuals.
A storyboard includes sketches of scenes, accompanying notes, and dialogue. It enables collaboration between scriptwriters, voice artists, animators, and clients to ensure everyone’s on the same page before animation begins.
5. Record High-Quality Voiceover
The voiceover must match the tone and pacing of the video. Choose a professional voice actor who can communicate the script with clarity and emotion. Consider accents, age, and energy level based on your target audience.
Make sure the audio quality is crisp and free of background noise. A clean voiceover adds authenticity and can significantly improve viewer engagement.
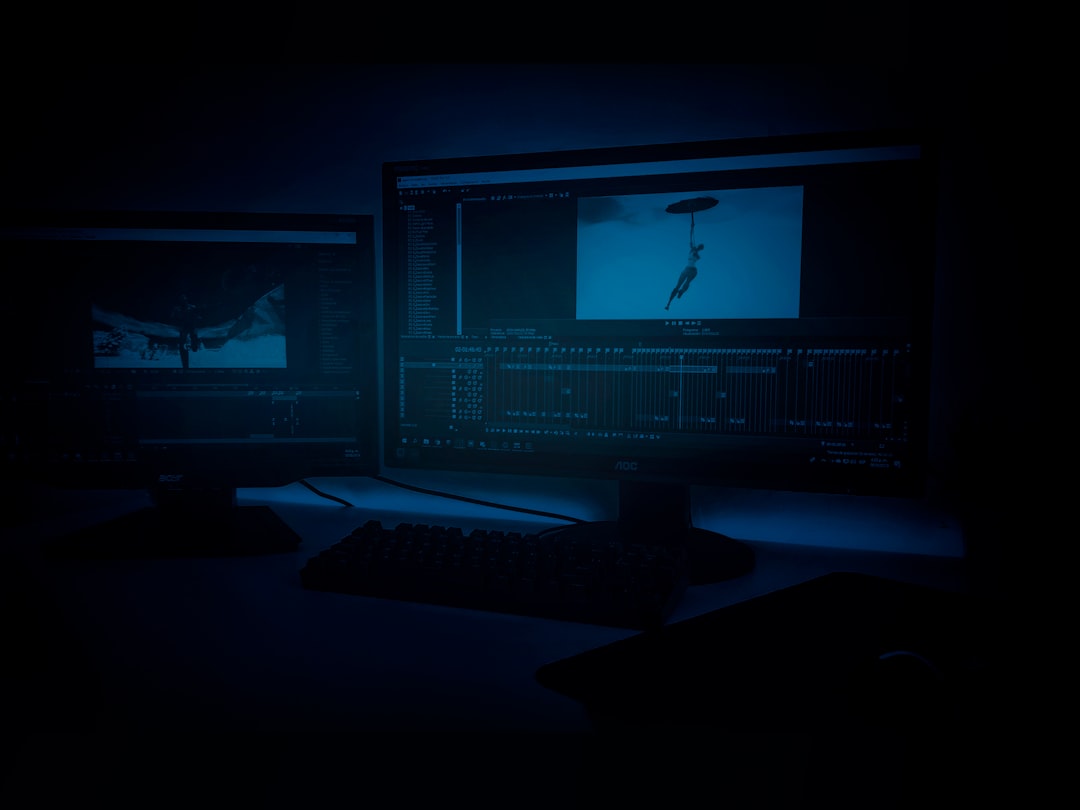
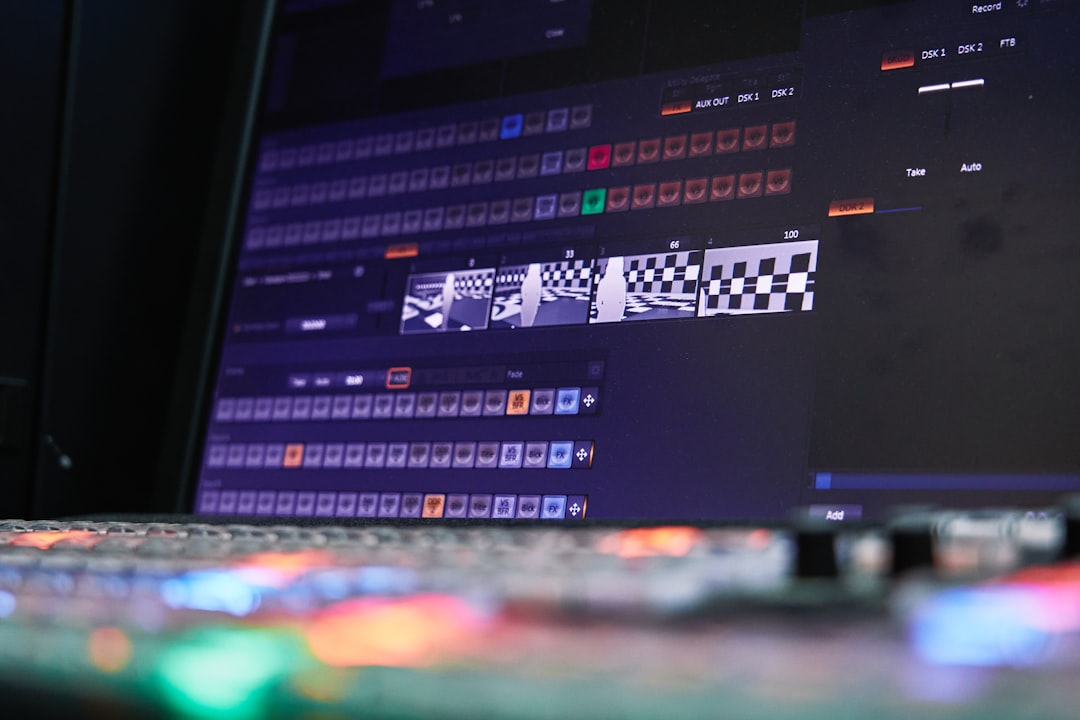
6. Animate the Video
Once your script, storyboard, and voiceover are approved, animation begins. This is where your ideas come to life.
Use professional animation tools such as:
- Adobe After Effects: Known for motion graphics and visual effects.
- Toon Boom: Preferred for frame-by-frame 2D animation.
- Vyond or Animaker: Good options for quicker, drag-and-drop-style animation.
It’s essential that the animation flows smoothly, visually illustrates the narration, and maintains consistency in style and timing.
7. Add Background Music and Sound Effects
Sound design plays a crucial role in setting the mood and maintaining viewer interest. Choose background music that matches your video’s tone—energetic, inspirational, or calming.
Don’t forget subtle sound effects to emphasize key moments, transitions, or visual actions. However, avoid overuse; the sound design should enhance the video, not distract from it.
8. Review and Revise
Before finalizing the video, review every element: script alignment, animation smoothness, audio synchronization, and graphic quality. Share the draft with team members or clients and collect feedback.
Make necessary revisions to ensure the message is clear and the video is polished. This step often requires several iterations, but it’s vital for achieving a high-quality final product.
9. Optimize for Various Platforms
Customize your final video for different platforms. Depending on where you will distribute the video—your website, social media, email campaigns, or online ads—adjust screen dimensions, file sizes, and formats accordingly.
Include subtitles or captions if you’re uploading to platforms like Facebook or LinkedIn, where many users watch videos without sound.
Best Practices and Tips for Success
Consider the following practical tips to elevate the quality of your explainer videos:
- Start with a hook: Grab attention in the first 5 seconds—use a bold question or surprising statistic.
- Keep visuals simple but effective: Avoid clutter. Use icons, characters, and transitions to convey actions clearly.
- Stay on brand: Use your brand colors, fonts, and tone to maintain visual consistency with your other materials.
- Test and measure performance: Use analytics to understand viewer behavior and make necessary tweaks if needed.
Working with a Professional Animation Studio
While DIY tools are tempting, working with a seasoned animation studio can dramatically improve quality. Professionals can offer:
- Creative direction to align your vision with effective storytelling.
- Technical skills in animation and post-production tools.
- Access to talent, including illustrators, voice actors, and sound designers.
- Time-saving processes that ensure timely delivery of a polished product.
Investing in professional production often yields better ROI through increased viewer retention and conversion rates.
Conclusion
Creating a stunning explainer video with animation involves more than just eye-catching visuals—it’s about telling a meaningful story with clear intent, strong scripting, professional voiceovers, and high-quality animation. Following a structured animation video production workflow ensures that your message penetrates, educates, and influences your target audience in a way that text-heavy content simply cannot.
Whether you’re planning to create a video yourself or collaborate with a studio, the key to success lies in preparation, creativity, and continual optimization. With the right approach, animated explainer videos can transform your communication strategy, making your brand not only seen, but understood and remembered.